3D Metal XLE Emblem Badge: Easy Stick-On Upgrade
3D Metal XLE Emblem Car Sticker Badge
A 3D metal XLE emblem badge adds a clean, factory-style finishing touch to the rear, grille, or side panel of a vehicle. With a raised metallic look and adhesive backing, it offers a quick cosmetic upgrade without drilling—ideal for replacing a worn badge, refreshing a detail after paintwork, or personalizing the exterior. If you’re ready to update your exterior in minutes, the 3D Metal XLE Emblem Car Sticker Badge is an easy, budget-friendly option that delivers a crisp, reflective “XLE” appearance.
What This Badge Adds to a Vehicle
- Creates a crisp, raised “XLE” look that reads clearly from a distance
- Refreshes an aging or peeling factory badge area without permanent modifications
- Helps unify exterior styling after repairs, repainting, or trim changes
- Works as a subtle personalization detail on smooth, flat mounting areas
The small details matter on a vehicle’s exterior. A clean emblem can make a trunk lid or fender look “finished,” especially if the original badge is faded, missing, or leaving behind uneven shadowing after years of sun exposure. Because it’s a sticker-style badge, it can also be used to restore symmetry after bodywork where a badge was removed and never reinstalled.
Design and Materials
- 3D metal construction for a premium, reflective finish compared with flat decals
- Badge-style thickness adds depth and shadow for better visual contrast on paint
- Adhesive backing designed for exterior use when applied to a properly cleaned surface
- Best results on non-porous surfaces such as painted metal and smooth plastics
Unlike printed vinyl lettering, a 3D metal emblem relies on depth to create contrast. That “raised” profile catches light differently throughout the day, which helps the letters stand out on both light and dark paint colors. The adhesive backing is designed for exterior use, but the real difference-maker is surface prep—removing wax, oils, and road film so the adhesive can make full contact.
For readers who like to dig into how automotive attachment tapes work, 3M’s overview of Automotive Attachment Tapes (VHB) offers helpful background on high-bond tape systems used across many exterior trim applications.
Placement Ideas and Fit Considerations
- Common mounting spots include trunk/liftgate, rear quarter panel, grille surround, or fender area
- Confirm the mounting area is flat enough; heavy curves can reduce adhesive contact
- Check spacing relative to existing badges, model lettering, parking sensors, cameras, and trim seams
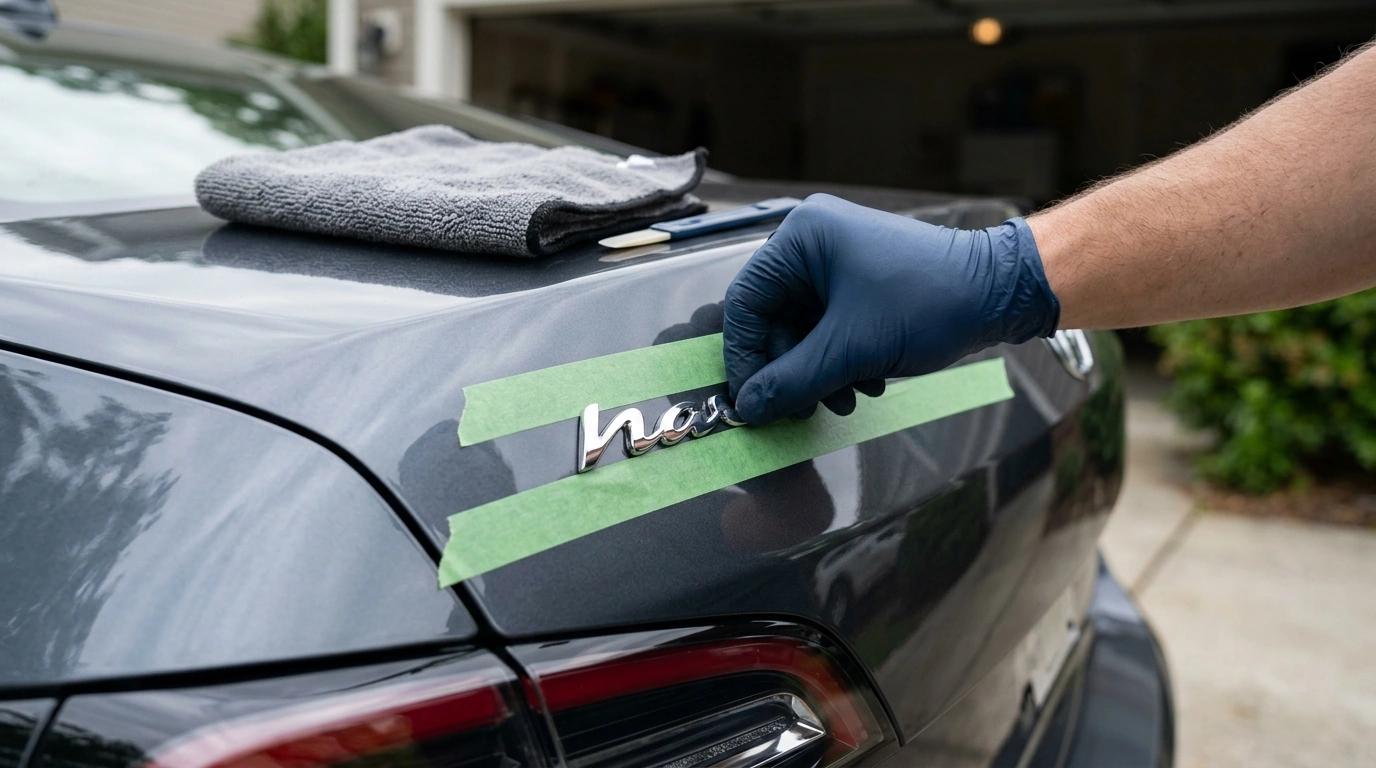
- Before sticking, test placement with painter’s tape to confirm alignment and visual balance
Most owners place an XLE emblem where the factory badge typically sits: on the right side of the trunk or liftgate, on a fender location near other trim lettering, or on a smooth area of a grille surround. The key is choosing a panel zone that’s clean, flat, and not constantly blasted by high-pressure spray from a nozzle at close range.
Before committing, step back 6–10 feet and check for visual balance. A badge can look “off” if it’s slightly tilted, too close to a body line, or crowding another emblem. Painter’s tape is the simplest way to mark a straight guide line and preview placement without leaving residue.
Quick Installation Steps
- Clean the surface thoroughly: wash, dry, then wipe with isopropyl alcohol to remove wax and oils
- Warm the badge and the panel slightly (mild warmth improves adhesive bonding)
- Peel and position carefully; once contact is made, avoid lifting and re-sticking if possible
- Press firmly across the entire badge for 30–60 seconds to set the adhesive
- Avoid washing the area and avoid heavy rain exposure for about 24 hours for best bond strength
Installation checklist
| Step | Why it matters |
|---|---|
| Alcohol wipe and dry | Removes wax/film that can cause early lifting |
| Tape a guide line first | Helps level the emblem and prevents crooked placement |
| Apply mild warmth | Improves initial tack and bond on cooler days |
| Firm, even pressure | Ensures full contact across the adhesive layer |
| Wait before washing | Gives adhesive time to reach stronger hold |
Isopropyl alcohol is widely used for degreasing prior to adhesive application, but it should still be handled responsibly. For basic handling and safety context, see the SDS-style safety guidance for isopropyl alcohol.
Removal and Repositioning (Without Damaging Paint)
- Use gentle heat (hair dryer/low heat gun) to soften adhesive before lifting
- Lift slowly with floss or fishing line behind the badge rather than prying with metal tools
- Remove residue with an automotive adhesive remover safe for clear coat; test a small spot first
- After removal, wash and consider a light polish/wax to blend the area if needed
Durability, Care, and Cleaning
Product Details at a Glance
| Detail | Value |
|---|---|
| Item | 3D Metal XLE Emblem Car Sticker Badge |
| Type | Metal emblem with adhesive backing |
| Typical placement | Trunk/liftgate, fender, grille area (flat surfaces) |
| Price | $5.17 USD |
| Stock | 60 |
In-Stock Picks
- 3D Metal XLE Emblem Car Sticker Badge
- Wireless Game Controller for PS5 & PC with RGB, Turbo Vibration & Hall Triggers
- Valentino Garavani Leather Belt with VLogo Buckle – Sophisticated Design
FAQ
Will the emblem stick to any surface?
It holds best on clean, smooth, non-porous surfaces like painted metal and smooth plastic. Textured plastics, rubber, or heavily curved areas reduce adhesive contact and can cause lifting over time.
How long should the adhesive cure before washing the car?
Wait about 24 hours before washing for the strongest bond. After that, avoid blasting the emblem edges with high-pressure water at close range.
Can it be removed without harming the paint?
Yes—use gentle heat, then work floss or fishing line behind the badge to separate it from the panel. Clean leftover residue with a clear-coat-safe adhesive remover and avoid metal tools that can scratch.











Leave a comment